How to Add a Basic Animation Effect to a Layer
A step-by-step guide to adding a basic loop animation — like continuous spin — to a layer in SVGA DIY, with video showing the effect actually in motion.
SVGA DIY can add a small set of built-in "basic loop" animation effects to any
layer — float, sway, breathe, spin, and opacity pulse — without you having to
hand-author keyframes. This walkthrough uses angel.svga again, but picks a
layer where the effect is unmistakable: the halo ring above the character's
head. A halo that spins in place reads clearly as "this layer is now
animated," which is exactly the point of this tutorial — a couple of the
steps below are shown as short video clips instead of stills, because motion
is the whole thing being demonstrated.
Step 1: Open the SVGA file
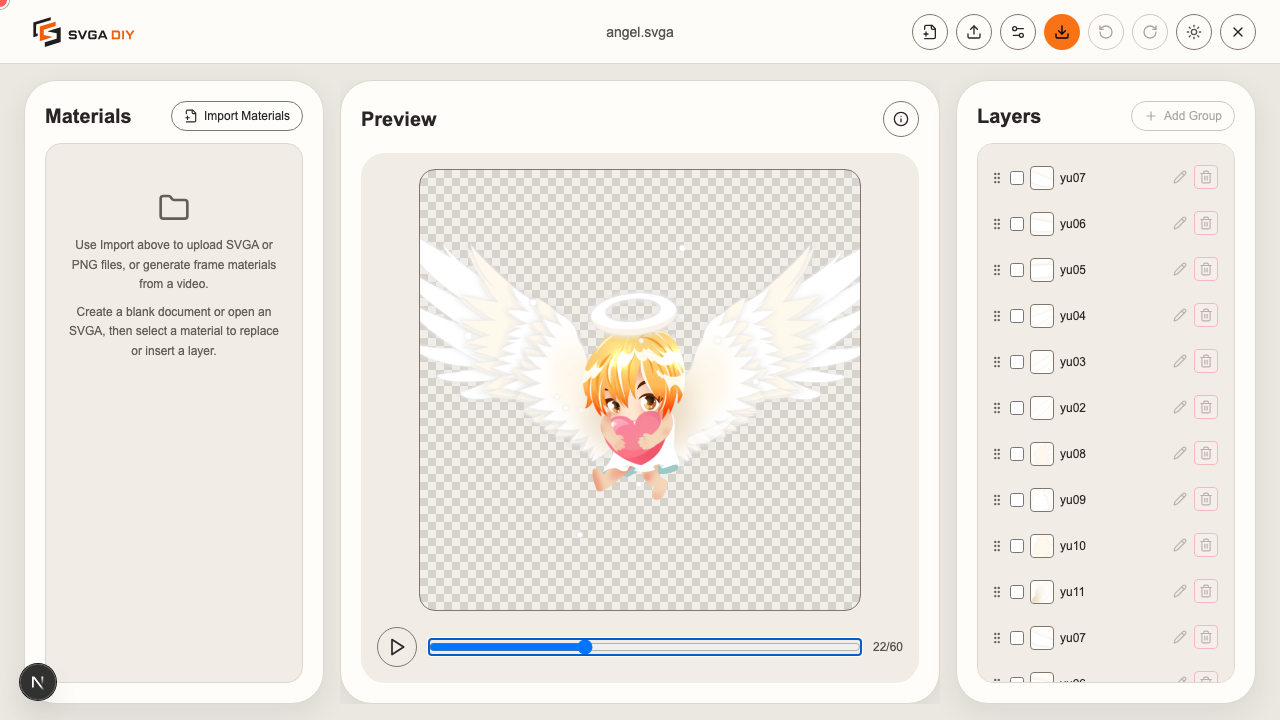
Open the editor and use the Open SVGA button in the topbar to load
angel.svga. Scrub the preview slider to a frame where the artwork is fully
visible — the very first frame of this file happens to be almost transparent.
Step 2: Select a layer to animate
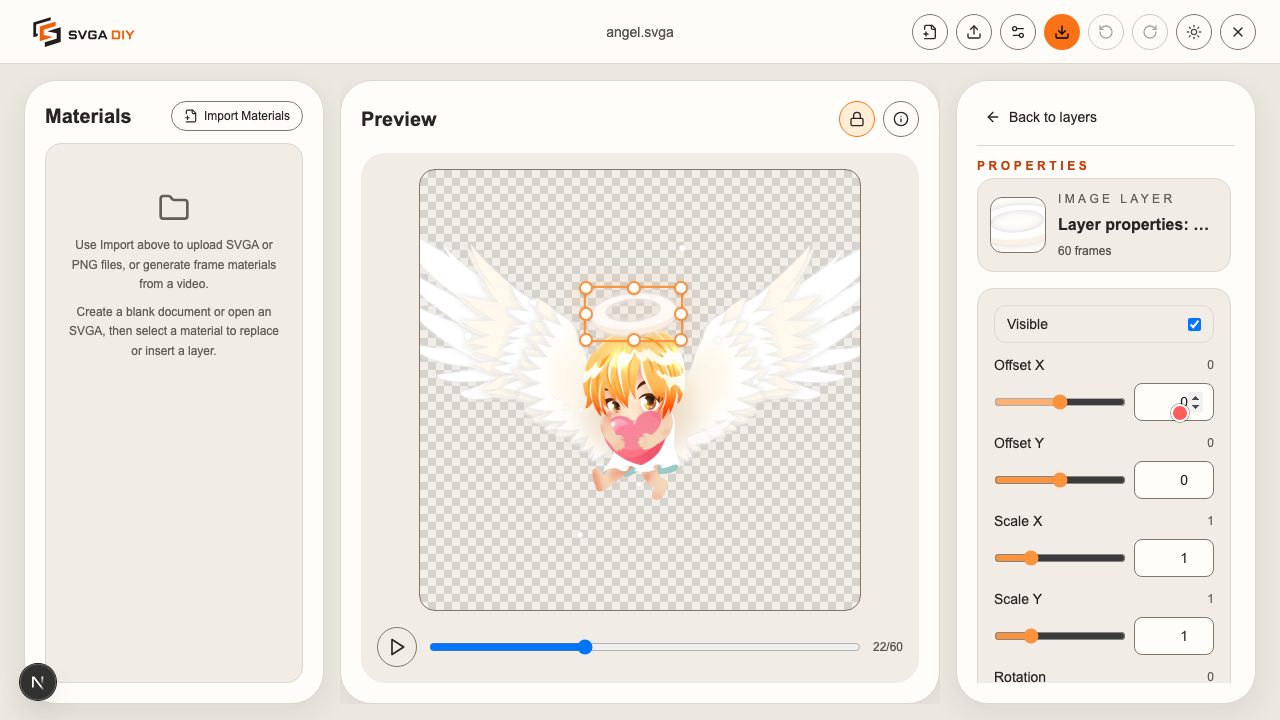
In the Layers panel, click the small edit (pencil) icon on the GuangHuan layer — the halo ring floating above the character's head. Unlike many sprites in this file, there's only one layer with this name, so there's no risk of picking the wrong row. This opens the layer's property page.
Step 3: Open the Effects panel
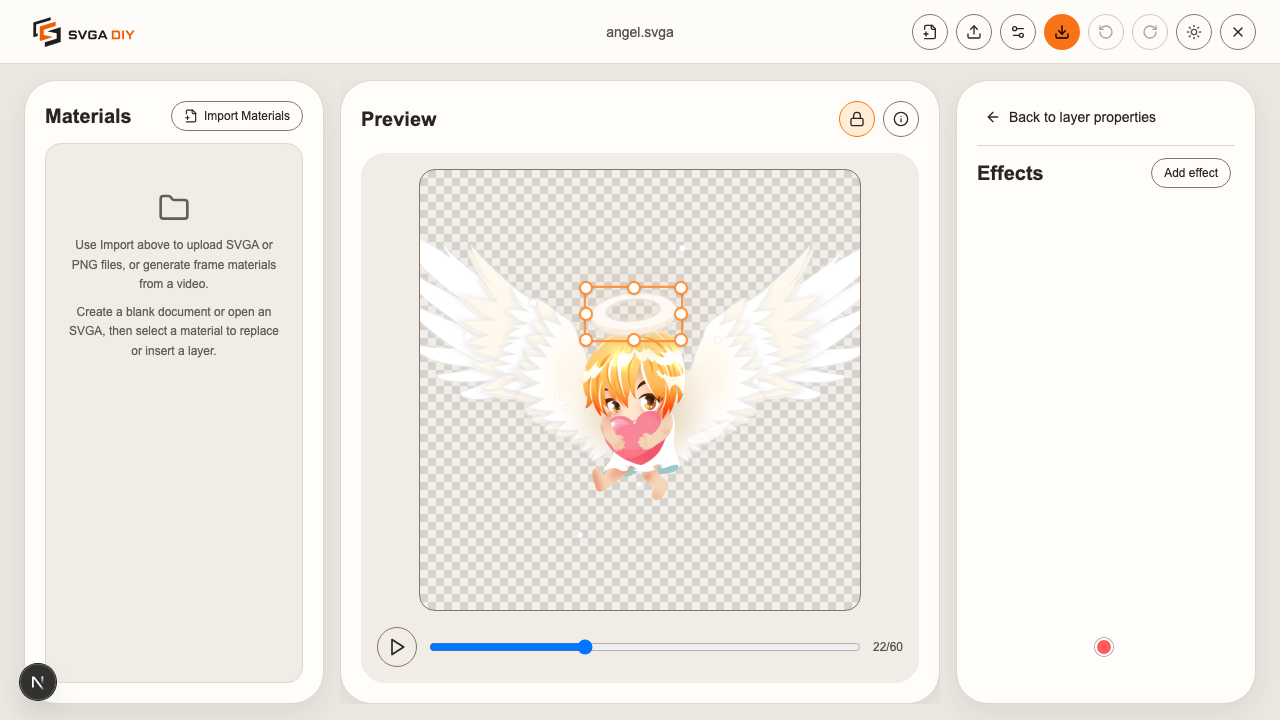
Scroll down the property page and click Effects. No effects have been added to this layer yet, so the list starts out empty.
Step 4: Add a Spin effect
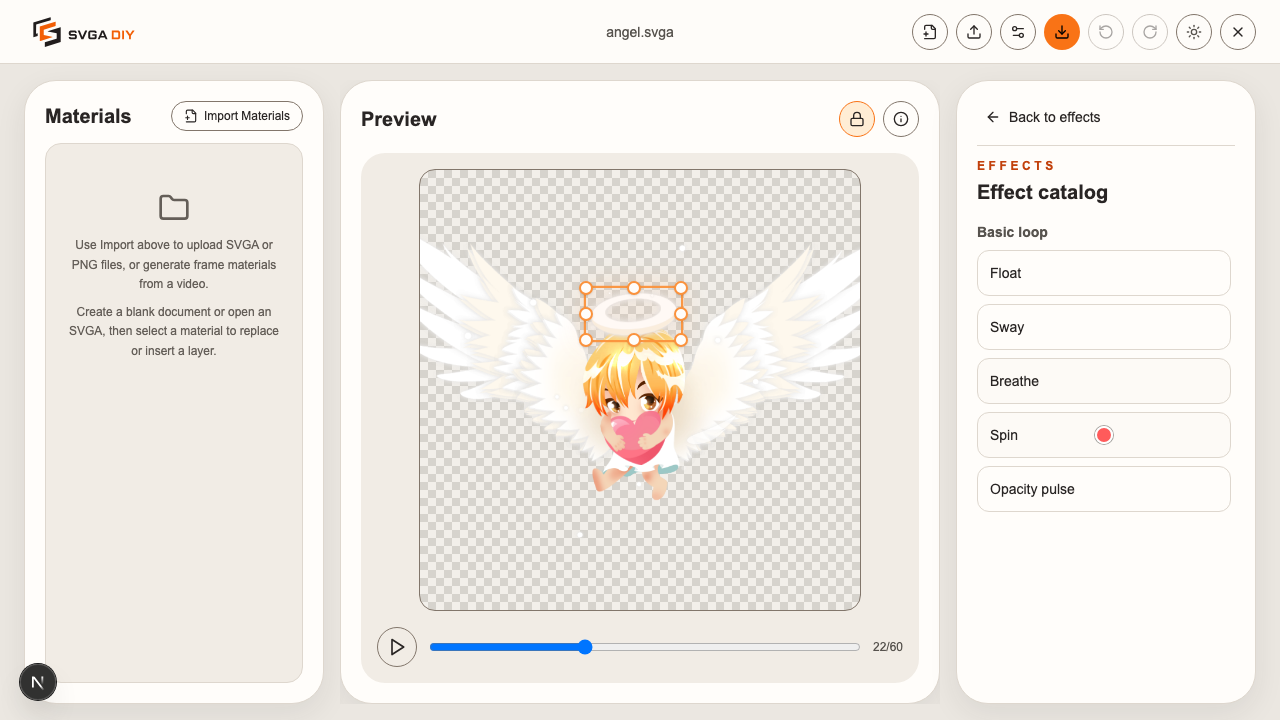
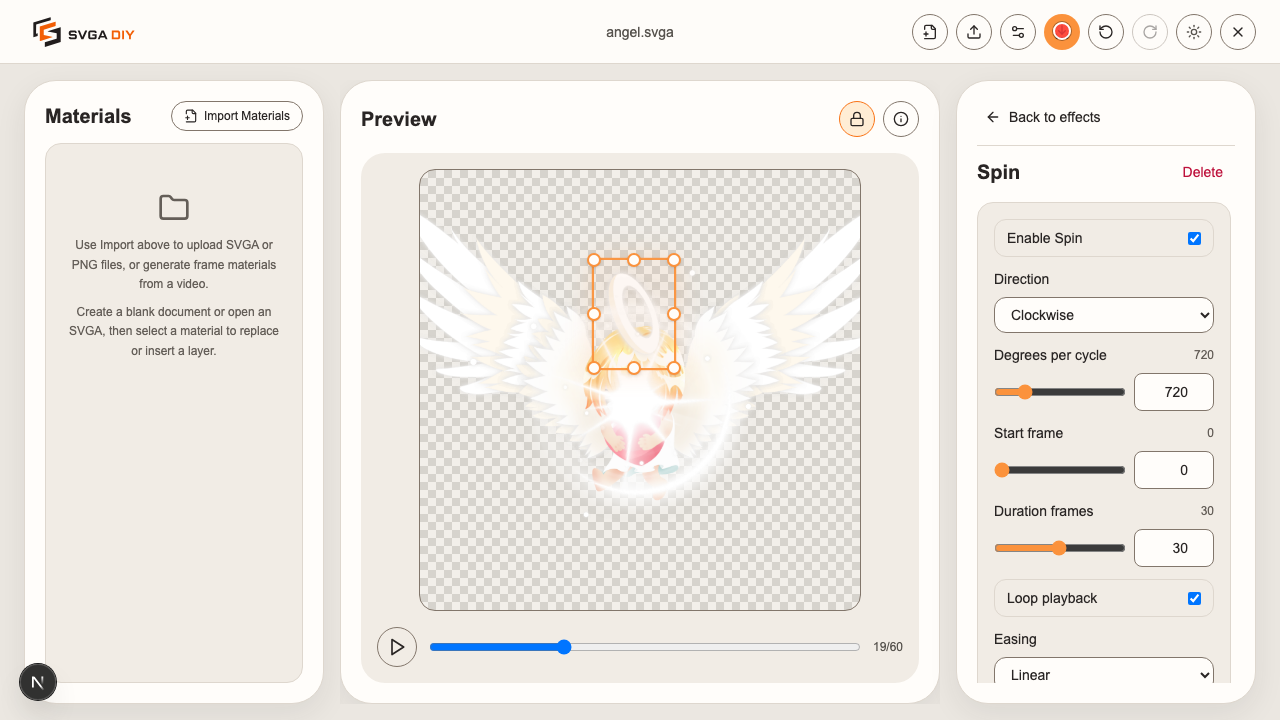
Click Add effect to open the effect catalog, then choose Spin from the Basic loop section. SVGA DIY adds it with sensible defaults — a full 360° clockwise turn, looping — and immediately opens the effect's own detail page so you can fine-tune it.
Step 5: Adjust the effect
With the preview paused partway through the animation, drag the Degrees per cycle slider. Because the preview always shows the currently compiled result, the halo's rotation angle updates live, in real time, as you drag — there's no need to press Play just to check a parameter change.
Step 6: Play the final effect
Press Play on the preview. With Spin enabled, the halo now rotates continuously as the document loops — the effect that a still screenshot alone could never really show.
Step 7: Export the file
Once you're happy with the result, export the file from the topbar. SVGA DIY re-encodes the whole document — including the animation effect, baked into the layer's transform on every frame — so the exported file plays back exactly like the preview, in any SVGA player.
That's the whole workflow — no account, no upload, and the original file never leaves your browser tab.