SVGA Preview: How to Compare an SVGA File Across Every Platform
A complete tour of SVGA Preview, the SVGA DIY tool for comparing an SVGA file across every platform — load it three ways, compare two or all six players, quantify pixel differences, and catch compatibility issues before they ship.
The SVGA format is implemented independently by five different players —
SVGAPlayer-Web, SVGAPlayer-Web-Lite, and the official Android, iOS, and
Flutter libraries — and they don't all support the same features. A file
that looks perfect in one player can silently lose its matte mask, its
embedded audio, or even its correct shape in another. SVGA Preview — the
tool at /preview — exists to catch that before it ships: it runs the real
parsing and drawing code from every platform side by side, in your browser,
on the same file, at the same time. This tour walks through everything on
the SVGA Preview page.
Step 1: Load a file
At the top of the SVGA Preview page is the file input bar. You can drop a .svga file
onto it or click Choose file, load one directly from a URL (covered in
the next step), or click one of four built-in samples to try the tool
immediately without a file of your own. Each sample is built to demonstrate
a specific kind of cross-player gap: Matte mask (a sprite that only
renders its intended shape on players that support matte compositing),
Audio key (embedded audio that only some players prepare for playback),
Layout mismatch (a sprite whose layout box disagrees with its bitmap
size), and Legacy 1.x (an older SVGA format version some newer players
have dropped support for). Everything happens locally in your browser tab;
nothing is uploaded anywhere.

This tour uses a real gift animation instead of a built-in sample, because it shows what a genuine production bug looks like — one that isn't nearly as obvious as a wrong shape, which is exactly why the rest of this page exists.
Step 2: Load a file from a URL
Instead of uploading, you can paste a direct link into the URL field and
click Load URL. This works for any .svga URL as long as the host
allows browser CORS requests — there's no server-side proxy relaying the
request for you, so a host that blocks cross-origin fetches simply won't
load. This is handy for pulling a file straight from a CDN or a teammate's
shared link without saving it to disk first.

Step 3: Read the file information
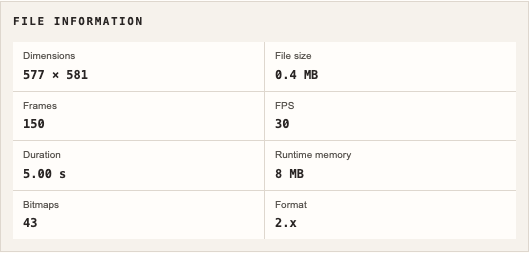
Once a file is loaded, the File Information panel shows its raw dimensions, file size, frame count, FPS, playback duration, estimated runtime memory, bitmap count, and SVGA format version (1.x or 2.x). It's a quick sanity check before you dig into how the file actually renders.
Step 4: Compare two players side by side
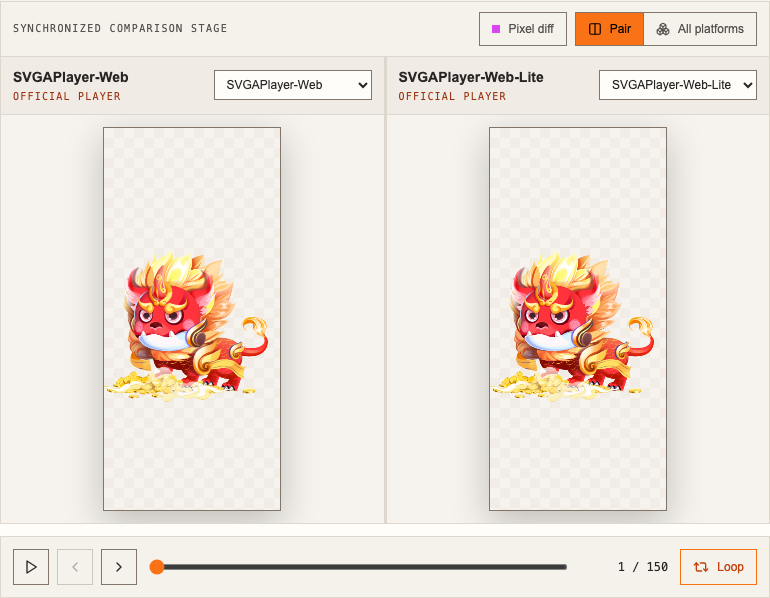
The Synchronized Comparison Stage defaults to Pair view: two panes, each with its own platform dropdown, playing back in lock-step. Pick any two of the six profiles — SVGAPlayer-Web, SVGAPlayer-Web-Lite, Android, iOS, Flutter, or SVGA DIY's own renderer — and scrub or play the shared timeline below to compare them frame by frame.
With the default SVGAPlayer-Web vs SVGAPlayer-Web-Lite pairing on this file — a lion mascot gift animation — the two panes look identical at a glance. That's realistic: most cross-player bugs aren't as obvious as a wrong shape, and eyeballing two panes side by side is exactly the kind of check that misses them. The next two steps show how to catch what your eyes can't.
Step 5: Step through frames precisely
Below the panes, the playback bar has Previous frame and Next frame buttons alongside Play and the shared timeline. When a difference only shows up on a specific frame — a transition, a highlight sweeping past, a shape that briefly changes — stepping one frame at a time is far more precise than scrubbing a slider or waiting for playback to loop back around. The frame readout on the right always shows exactly where you are.

Step 6: Quantify the difference with Pixel diff
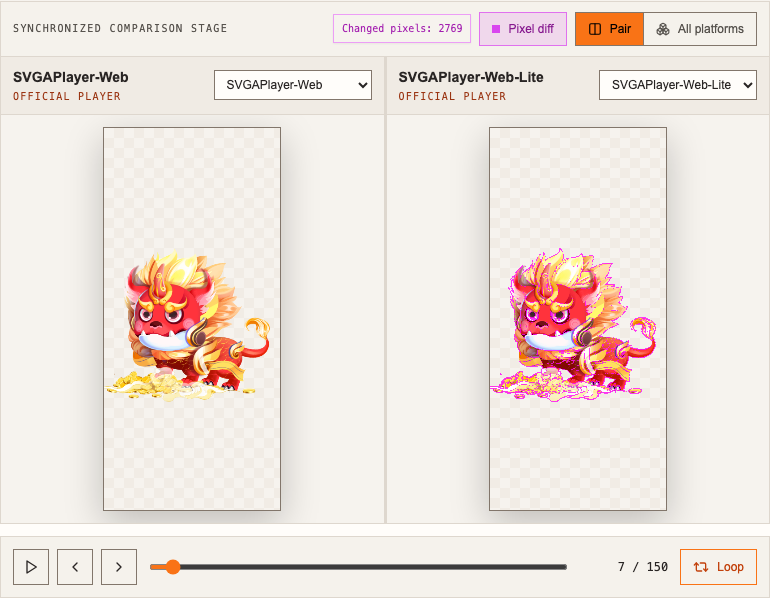
This is where the two panes actually stop looking the same. Click Pixel diff (only available in Pair view) to overlay the two renders and highlight every pixel that doesn't match — in magenta, regardless of whether the mismatch is in color or transparency — along with a running Changed pixels count in the toolbar. A thin magenta fringe appears around the character on the Lite pane: a real, measurable difference between how the two libraries render this file's edges, invisible a moment ago and now impossible to miss.
Step 7: Compare all six platforms at once
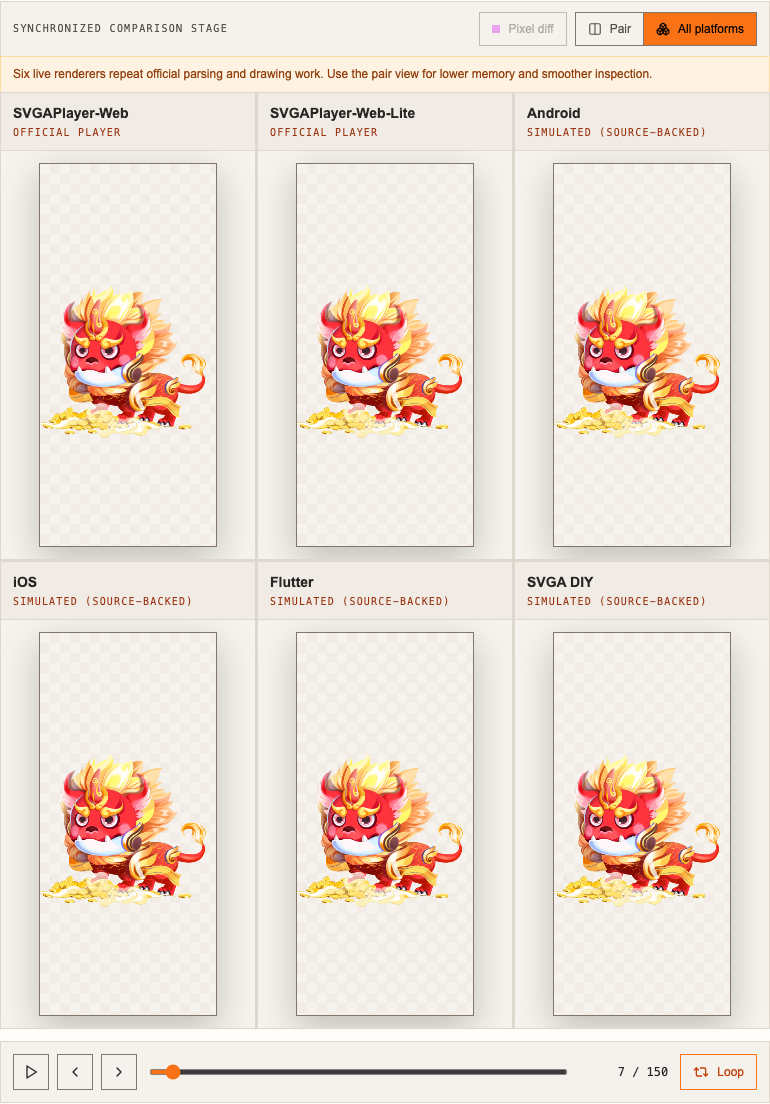
Click All platforms to expand the stage into a six-pane grid — every profile rendering the same file and the same frame simultaneously. The edge fringe from the previous step is too subtle to spot across a whole grid at once (it only became visible under Pixel diff, which is Pair-view-only), so at this frame all six panes look consistent — that's the honest result, and it's still useful: a wide scan across every implementation is how you'd catch a gap that is big enough to see at a glance, like a missing effect or a wildly different layout. Six live renderers do more work than two, so the tool shows a hint suggesting Pair view for lower memory and smoother inspection when you don't need all six at once.
Step 8: Read the compatibility report
The Compatibility Report panel runs a set of automated checks against the loaded file and lists any real issues it finds, each with a severity badge, a plain-language explanation, and exactly which platforms it affects. This particular file turns out to have 38 of them — a separate finding from the fringe Pixel diff just revealed, and a good example of why this panel exists at all: it flags that specific frames omit an explicit alpha value on the wire, so Android and iOS specifically may infer a different default than the file's author intended. Android and iOS are simulated here from their real source code rather than actually executed in your browser, so this is a case the Compatibility Report can catch that a live pixel comparison between two other players never would. Not every file will have issues — when none are found, the panel simply says so — but this one is a good reminder that a file can look completely fine and still ship real, detectable bugs.
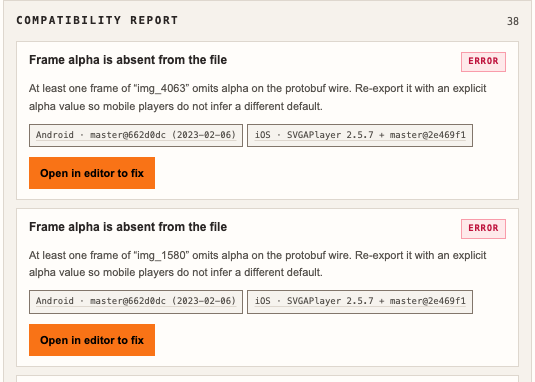
Each issue card has an Open in editor to fix button. It's a shortcut into the SVGA DIY editor — worth knowing that it just opens the editor fresh; it doesn't carry the loaded file over automatically, so you'll load the same file again once you're there.
Step 9: Choose a background and canvas size
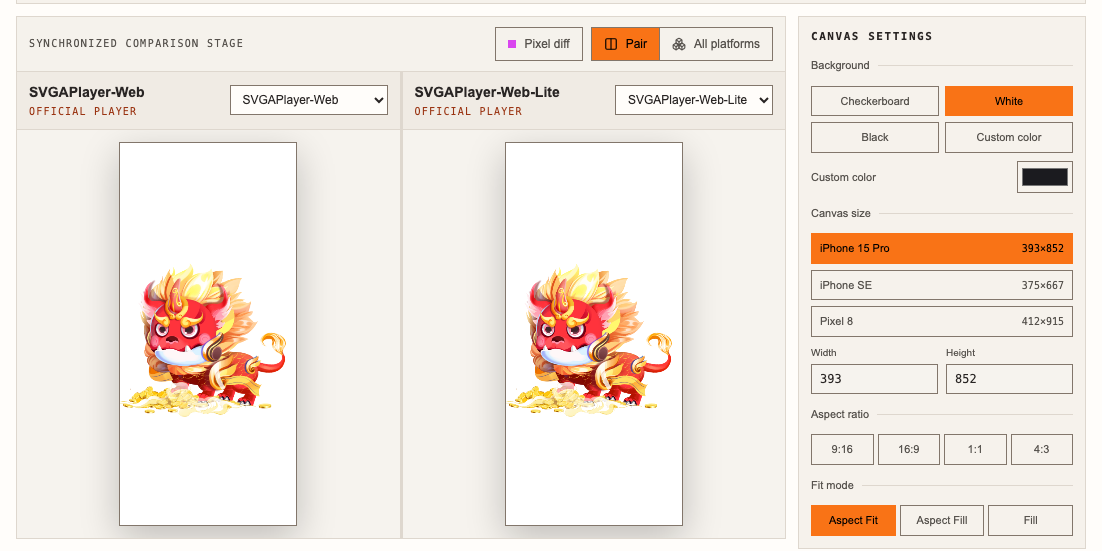
The Canvas Settings panel on the right controls how the comparison stage itself is presented, independent of the file. Background switches between a transparent checkerboard, white, black, or a custom color you pick with the swatch next to it. Canvas size offers three device presets — iPhone 15 Pro, iPhone SE, and Pixel 8 — or you can type an exact Width and Height yourself, up to 4096px on either edge. Switching to a white background and the iPhone 15 Pro preset already shows something the default checkerboard square doesn't: how much empty space surrounds the artwork on a real, tall phone screen.
Step 10: Match a real aspect ratio and fit mode
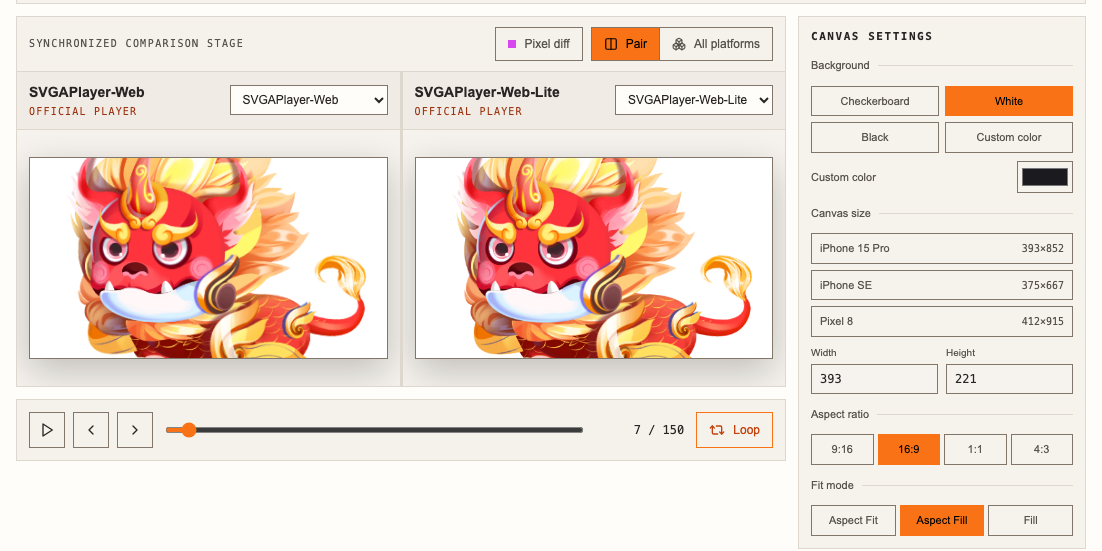
Below Canvas size, the Aspect ratio shortcuts (9:16, 16:9, 1:1, 4:3)
resize the canvas to a common ratio in one click, keeping the current width
and computing the matching height — independent of the device presets
above. Pair that with Fit mode: Aspect Fit letterboxes the content
to show all of it, Fill stretches it to match the frame exactly
(distorting its proportions), and Aspect Fill scales it to cover the
whole frame while cropping whatever overflows — the same trade-off as
background-size: cover in CSS. Switching to a 16:9 canvas with Aspect Fill
crops the top and bottom of the artwork to fill the wide frame edge-to-edge,
instead of leaving it letterboxed.
Step 11: Browse the full compatibility matrix
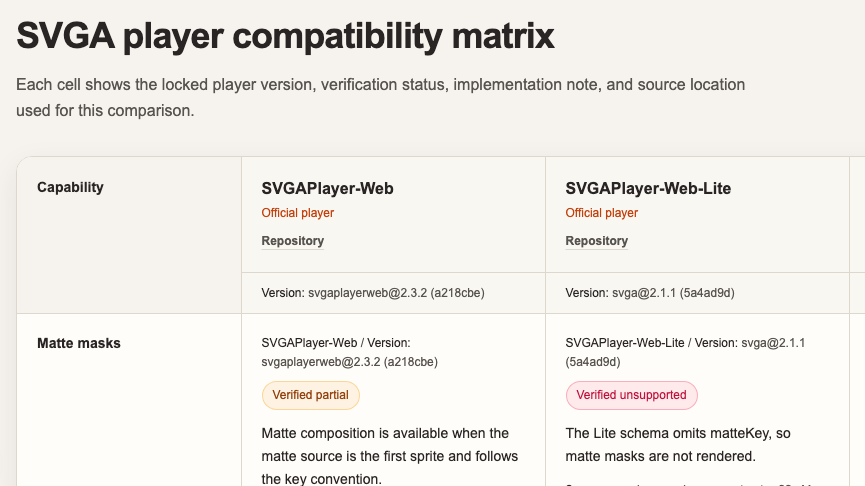
Further down the /preview page, a full SVGA player compatibility
matrix documents every capability this tool checks — matte masks, the
.matte suffix convention, legacy SVGA 1.x support, embedded audio, vector
shape handling, and more — for all five real players. Each cell states a
verified status (supported, partial, or unsupported), a plain-language
implementation note, and a link to the exact source file and line that was
checked to verify it. The table is wide enough that you'll need to scroll it
horizontally to see every platform; it's reference material rather than
something you interact with, but it's there any time you need to know
whether a specific capability is supported before you rely on it.
That's the whole of SVGA Preview — no account, no upload, and every file you load stays in your browser tab.