How to Add a Sweep (Light Shine) Effect to a Layer
A step-by-step guide to adding the Sweep light effect to a layer in SVGA DIY, recorded in Dark mode so the moving highlight actually shows up.
Alongside the basic loop effects (float, sway, breathe, spin, opacity pulse),
SVGA DIY also has a "Light Effects" category: Sweep and Glow. Sweep
draws a moving highlight band that travels across a layer — a classic "shine"
pass, the kind you'd see sweep across a logo or a gift icon. This walkthrough
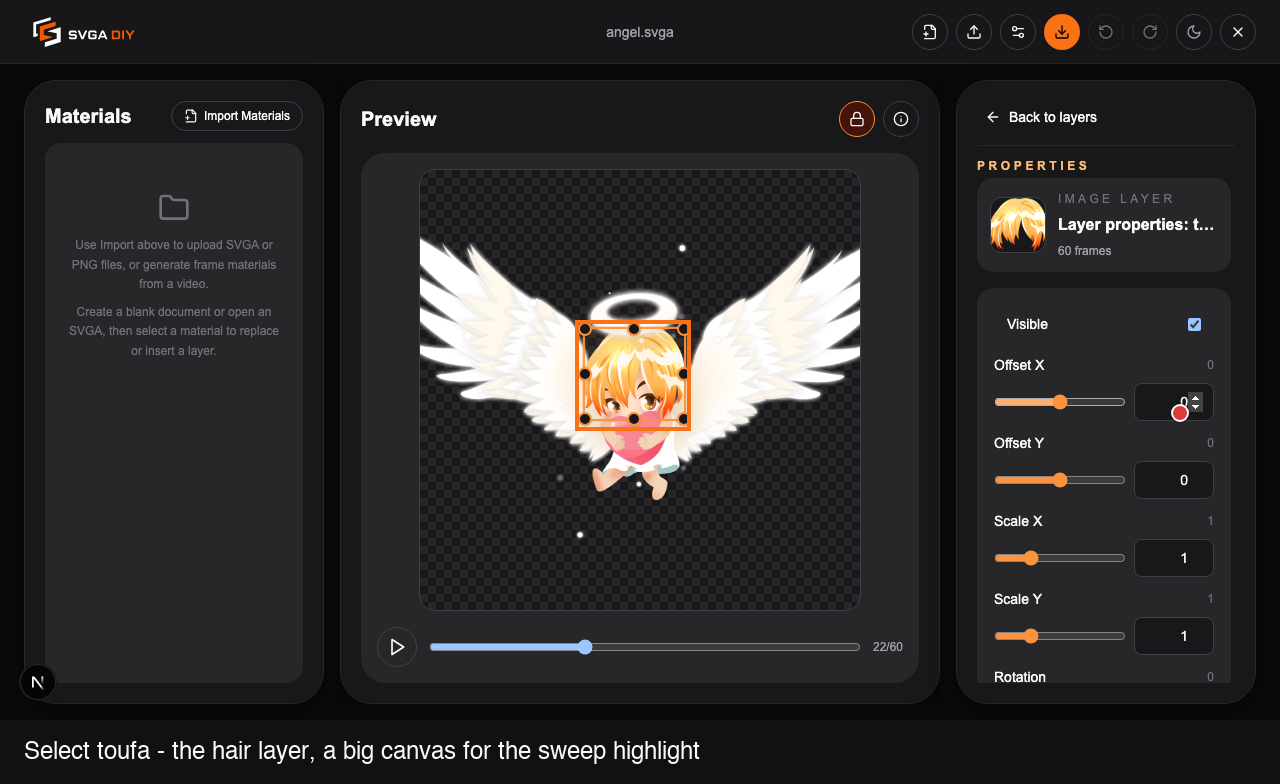
uses angel.svga again, targeting the character's toufa (hair) layer —
it's a large sprite, so the highlight band has plenty of surface area to
travel across and light up, instead of a small icon where the effect would be
easy to miss.
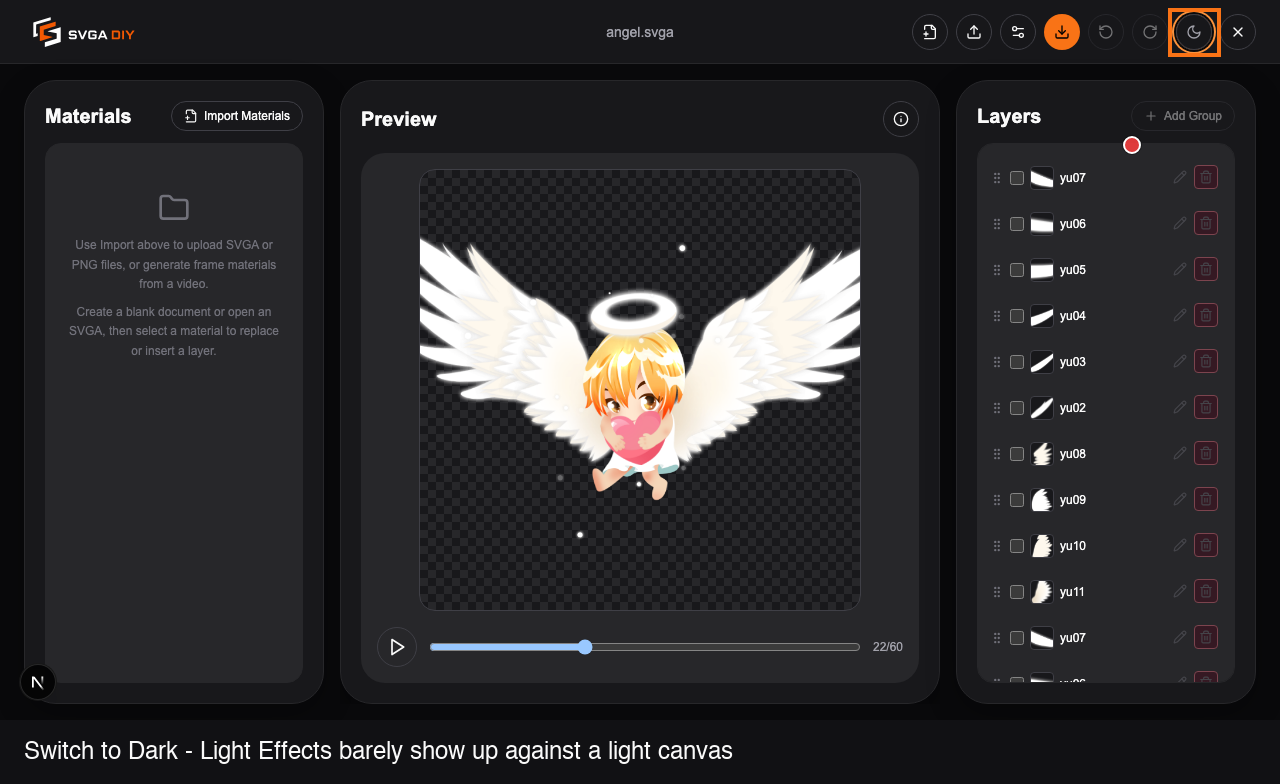
One thing that matters a lot for this particular effect: theme. Sweep's highlight barely registers against SVGA DIY's light canvas background, but pops clearly once you switch the editor to Dark mode — so this guide records every step with Dark mode on. A couple of steps below are shown as short video clips instead of stills, because motion is the whole thing being demonstrated.
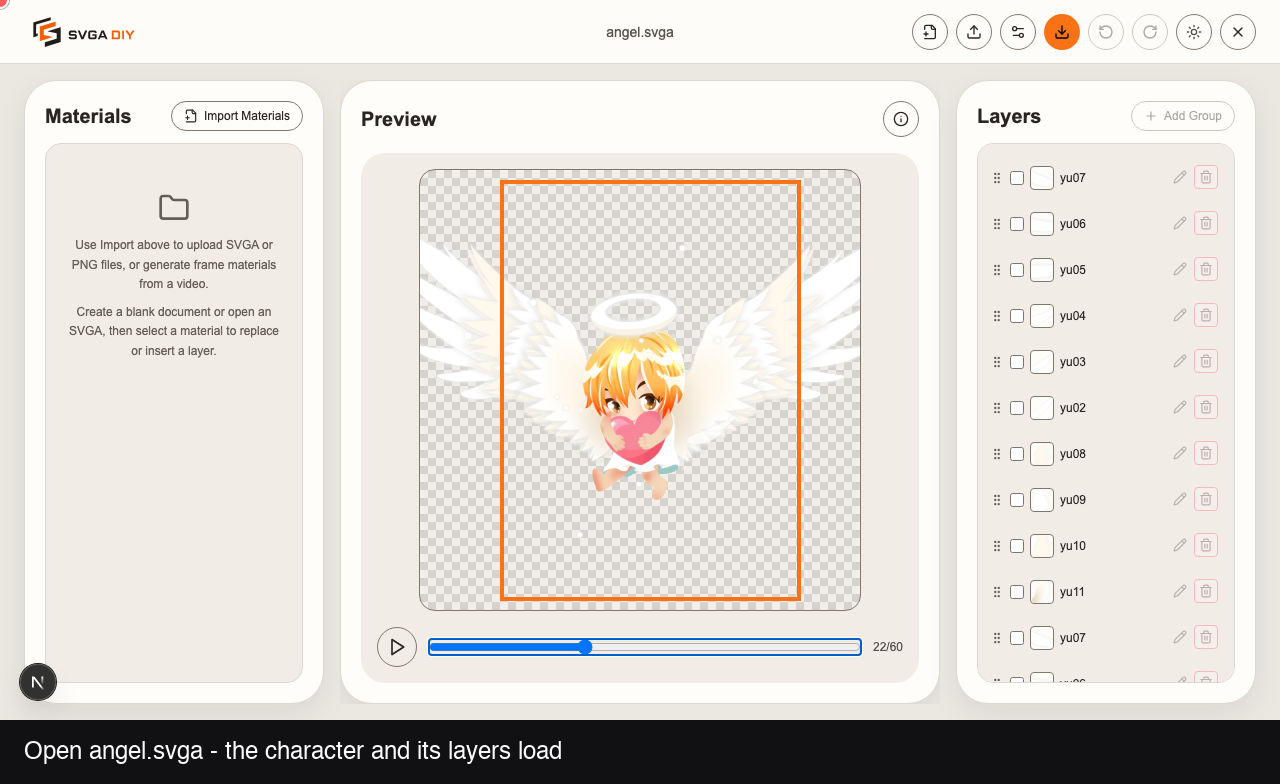
Step 1: Open the SVGA file
Open the editor and use the Open SVGA button in the topbar to load
angel.svga. Scrub the preview slider forward — the very first frame of this
file is almost fully transparent.
Step 2: Switch to Dark mode
Click the theme toggle in the topbar and choose Dark. The preview canvas's checkerboard background switches to a much darker pair of greys, which is exactly what makes a bright highlight band read clearly instead of blending into the surroundings.
Step 3: Select a layer to light up
In the Layers panel, click the small edit (pencil) icon on the toufa layer — the character's hair. There's only one layer with this name, so there's no risk of picking the wrong row. This opens the layer's property page.
Step 4: Open the Effects panel
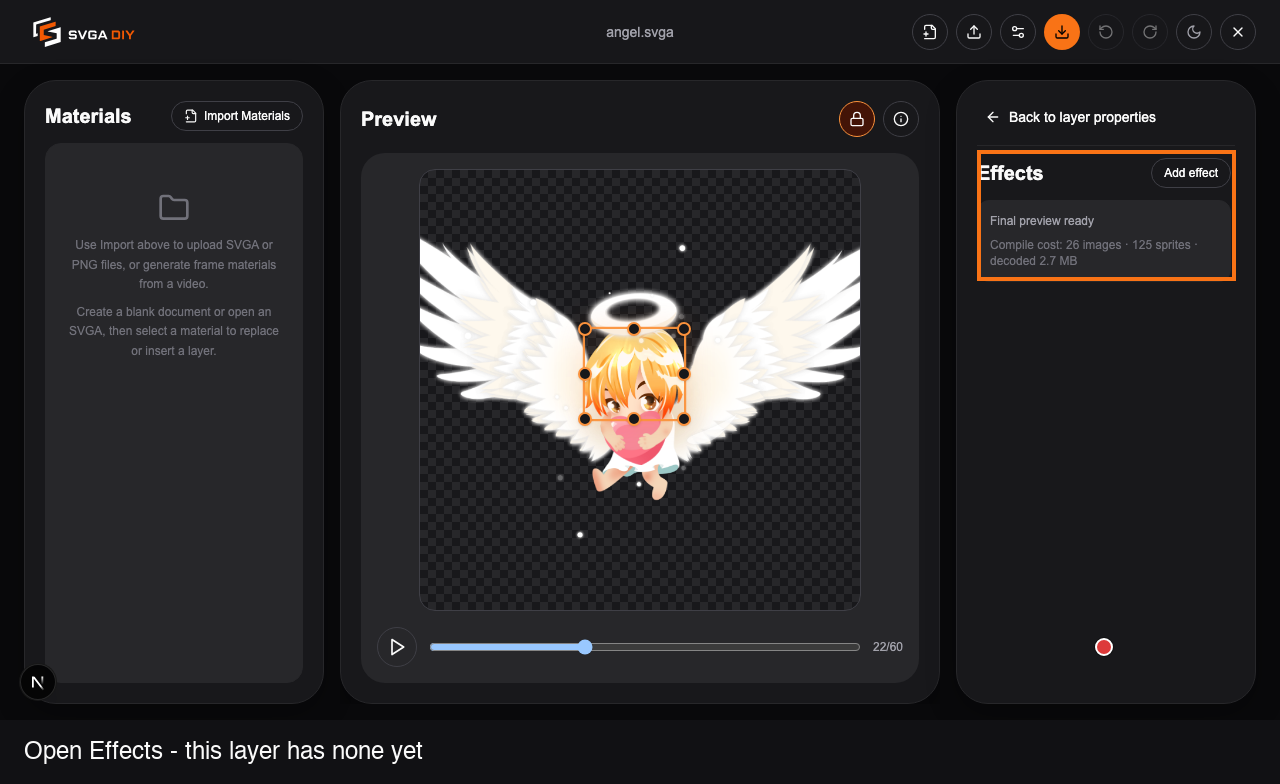
Scroll down the property page and click Effects. No effects have been added to this layer yet, so the list starts out empty.
Step 5: Add a Sweep effect
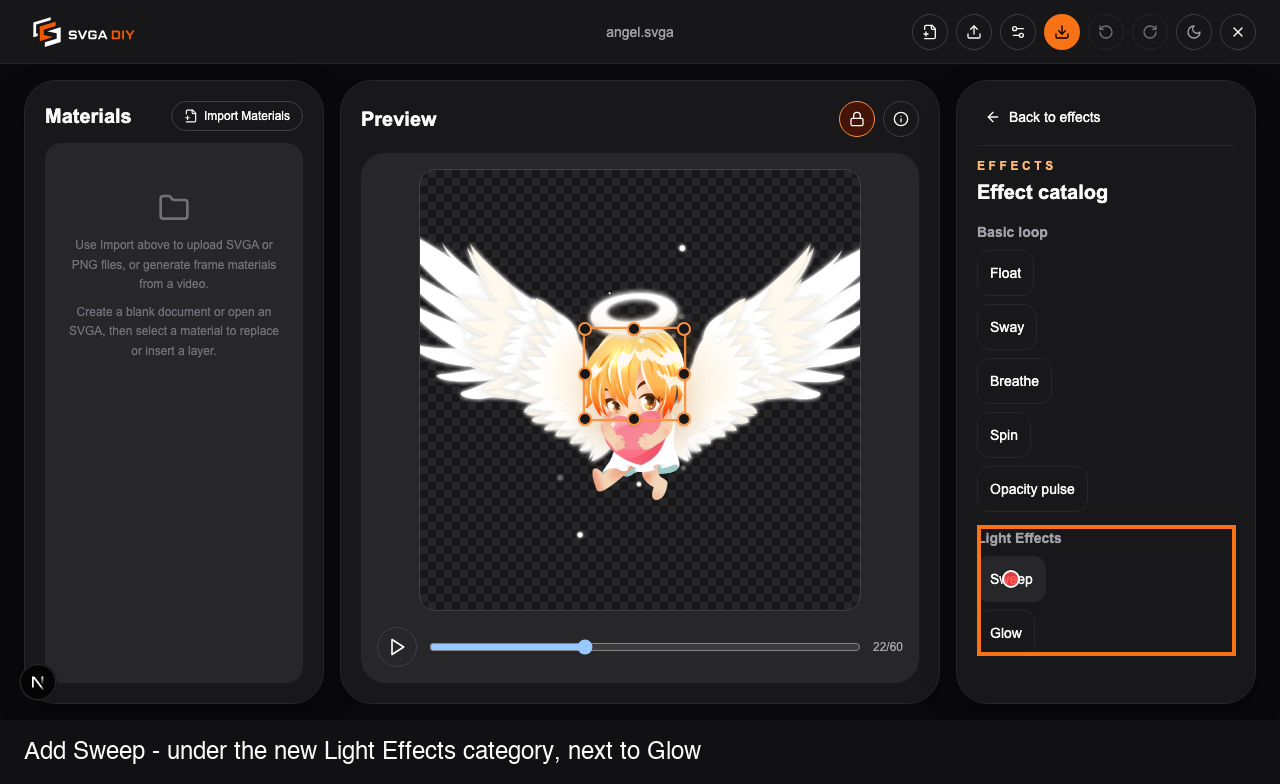
Click Add effect to open the effect catalog. Alongside the five Basic loop effects, a second section — Light Effects — lists Sweep and Glow. Choose Sweep. SVGA DIY adds it with sensible defaults — a linear highlight band, gold-colored, looping — and immediately opens the effect's own detail page so you can fine-tune it.
Step 6: Adjust the effect
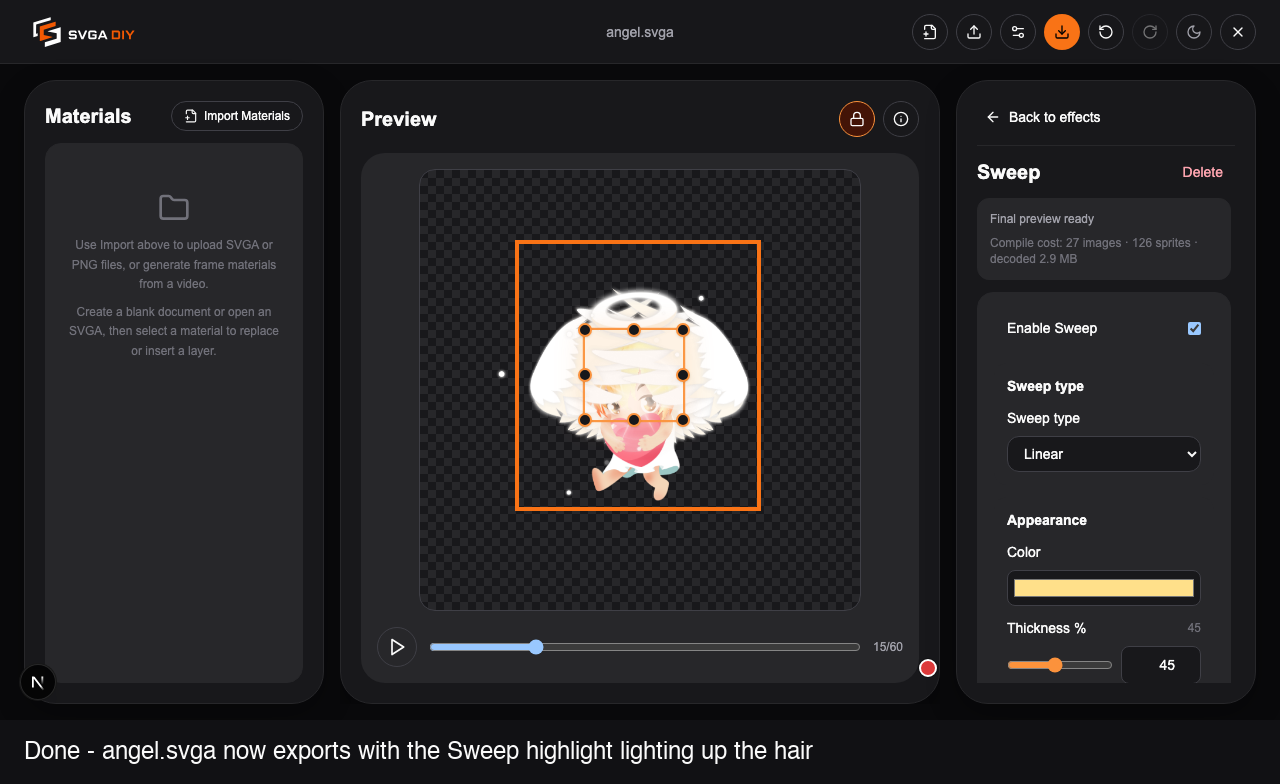
With the preview paused on a frame partway through the character's wing animation — where the hair is blown wide open — drag the Thickness % slider. Because the preview always shows the currently compiled result, the highlight band visibly widens live, in real time, as you drag — there's no need to press Play just to check a parameter change.
Step 7: Play the final effect
Press Play on the preview. With Sweep enabled, the highlight now travels across the hair as the document loops — the effect that a still screenshot alone could never really show.
Step 8: Review the export check
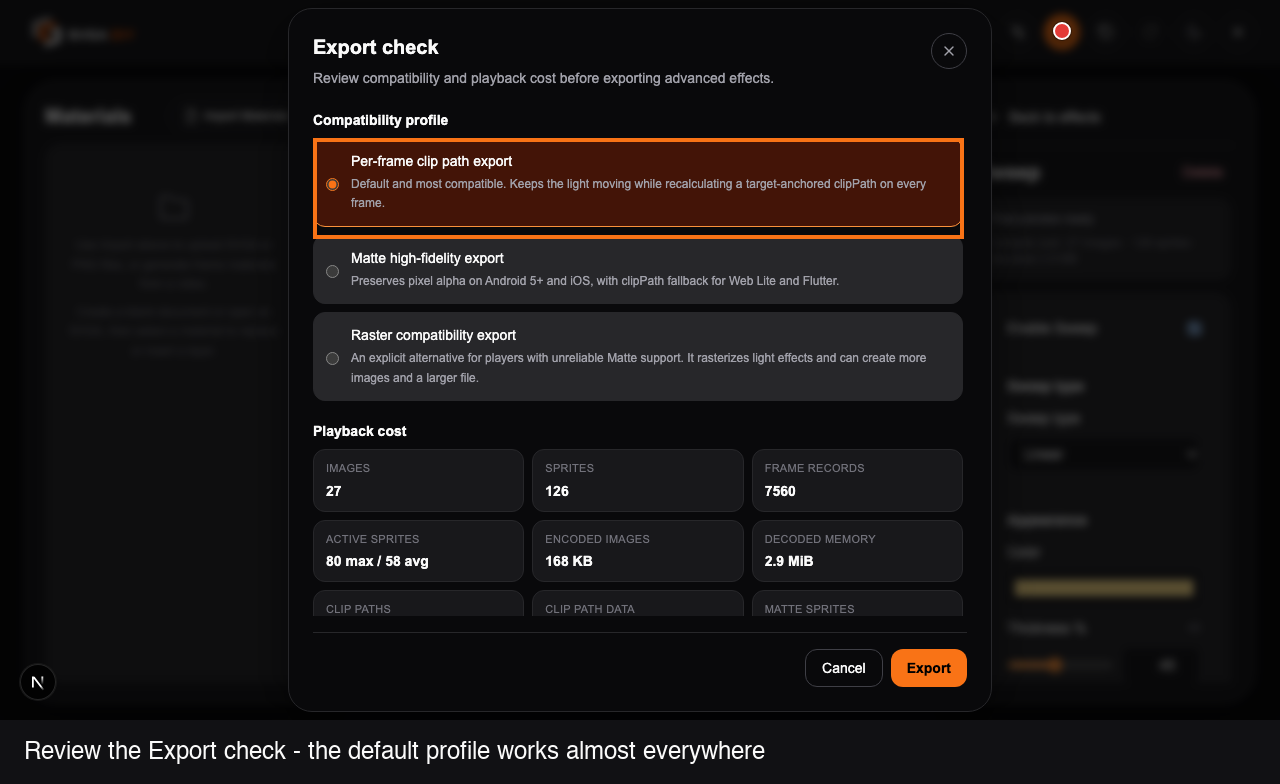
Click Export in the topbar. Because this document now has an advanced (Light Effects) effect on it, SVGA DIY shows an Export check dialog first — a step that doesn't come up for basic loop effects alone. It lists three compatibility profiles and a playback cost summary. The default, Per-frame clip path export, is the most compatible choice and is pre-selected for you.
Step 9: Export the file
With the default profile selected, click Export inside the dialog. SVGA DIY re-encodes the whole document — including the Sweep effect, baked into the layer's frames — so the exported file plays back exactly like the preview, in any SVGA player.
That's the whole workflow — no account, no upload, and the original file never leaves your browser tab.