How to Replace a Layer in an SVGA File
A step-by-step guide to opening an SVGA file in SVGA DIY, importing a material, and replacing a layer with it — all in the browser, no account required.
Replacing a layer is one of the most common edits in SVGA DIY: you keep an
existing SVGA file's structure and timing, but swap in different artwork for
one sprite. This walkthrough uses angel.svga as both the file being edited
and the source of the replacement material — you can pull a replacement
sprite from any SVGA file, including the one you already have open.
Step 1: Open the SVGA file
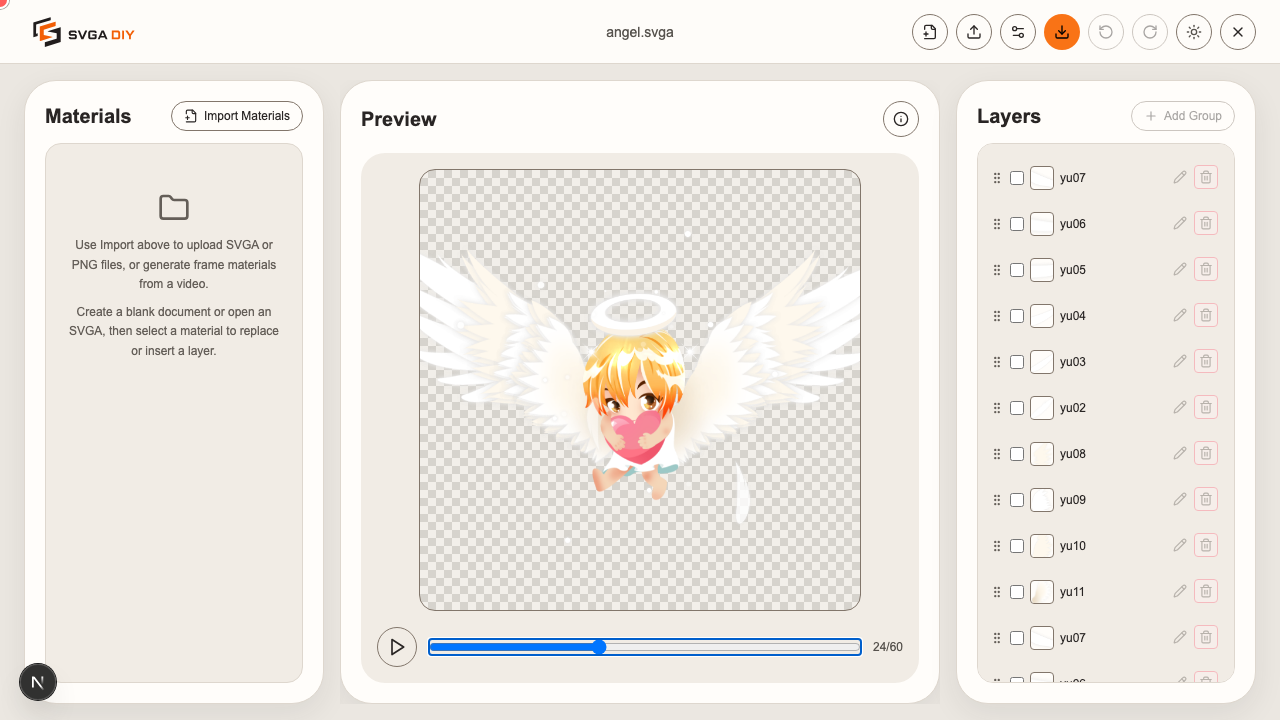
Open the editor and use the Open SVGA button in the topbar to load
angel.svga. The Layers panel fills in with every sprite the file contains.
Scrub the preview slider to a frame where the artwork is fully visible — the
very first frame of this file happens to be almost transparent.
Step 2: Select the layer you want to replace
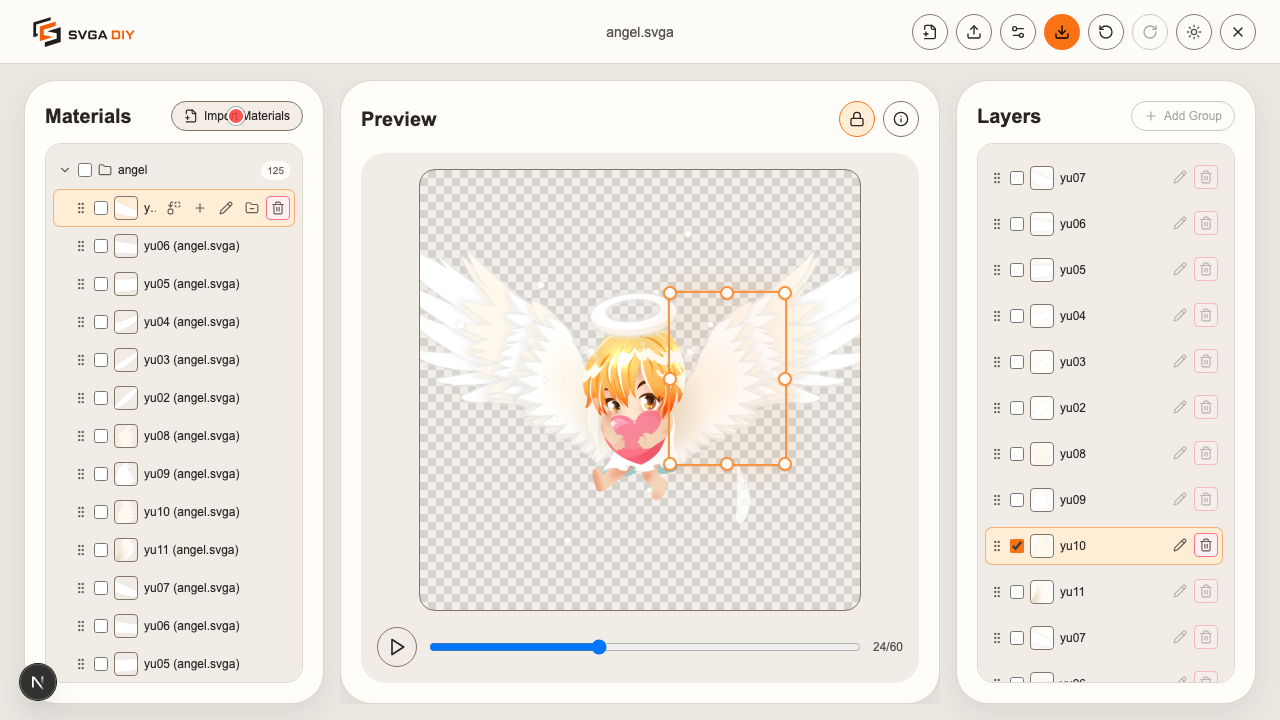
Click a layer in the Layers panel to select it as the replacement target —
here, one of the sprites that makes up the character's right wing (named
yu10 in this file). The Layers panel can list several sprites with the
same name, so watch where the click actually lands: selecting a layer only
highlights it, it does not open any edit screen yet.
Step 3: Import a replacement material
Open Import Materials and import angel.svga again — this time as a
material source. The editor extracts every sprite from the file into the
Materials panel as individually reusable thumbnails, including sprites that
aren't part of the current layer stack.
Step 4: Select the replacement material
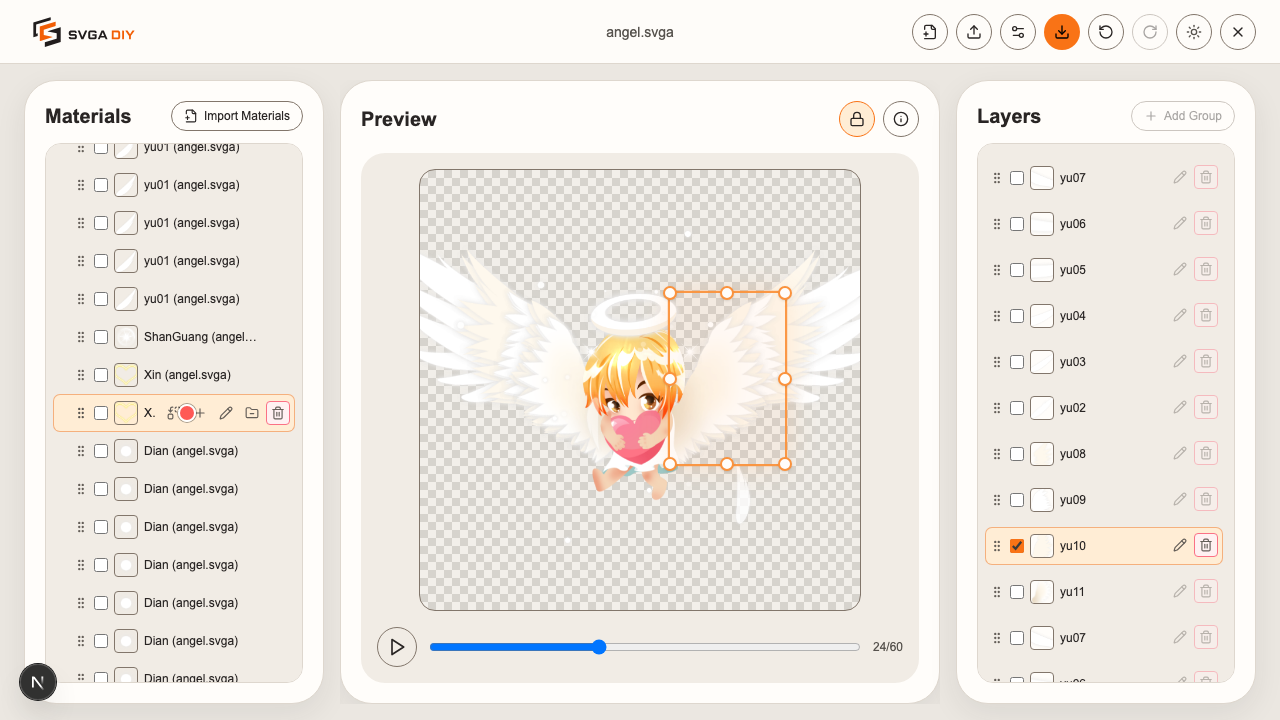
Pick a material thumbnail to use as the replacement — here, the sprite named
Xin (the character's heart icon).
Step 5: Replace the layer
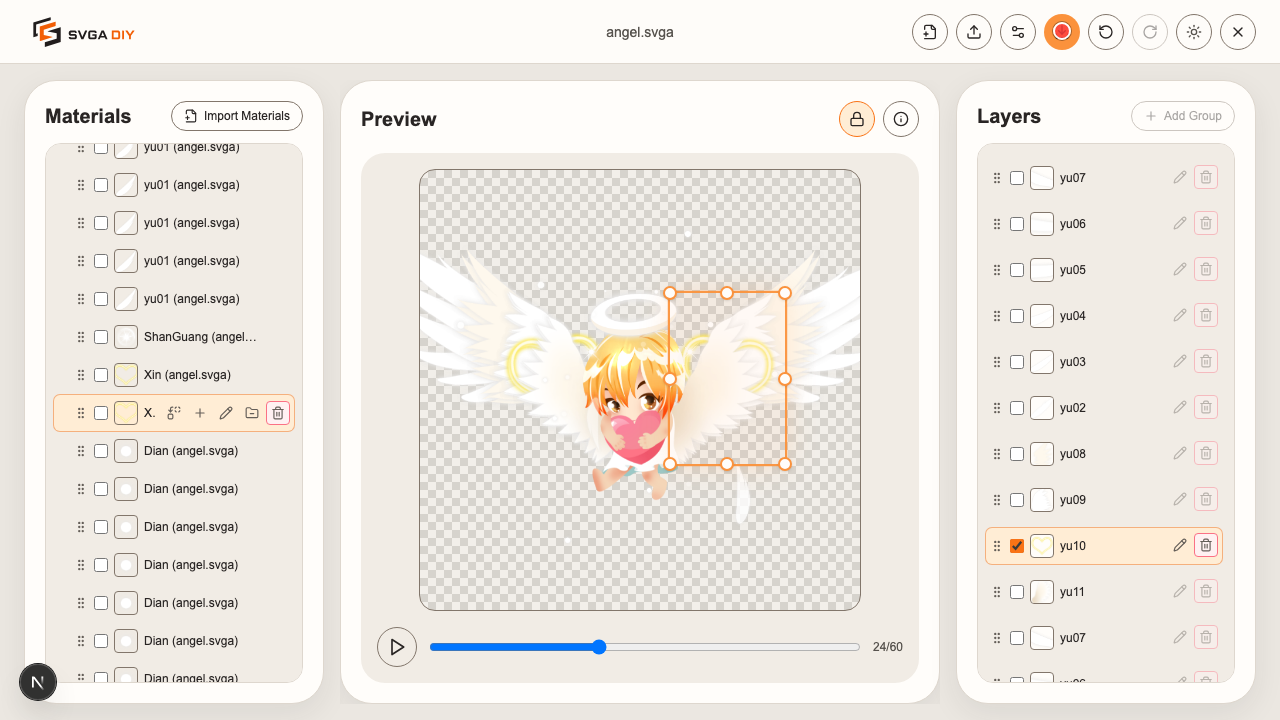
With the target layer selected and the replacement material selected, click the small Replace selected layer icon on the material row. SVGA DIY fits the new artwork to the target layer's existing size and position automatically — this step is asynchronous, so the preview updates a moment after the click, not instantly.
Step 6: Export the file
Once you're happy with the result, export the file from the topbar. SVGA DIY re-encodes the whole document, so the exported file plays back exactly like the preview.
That's the whole workflow — no account, no upload, and the original file never leaves your browser tab.